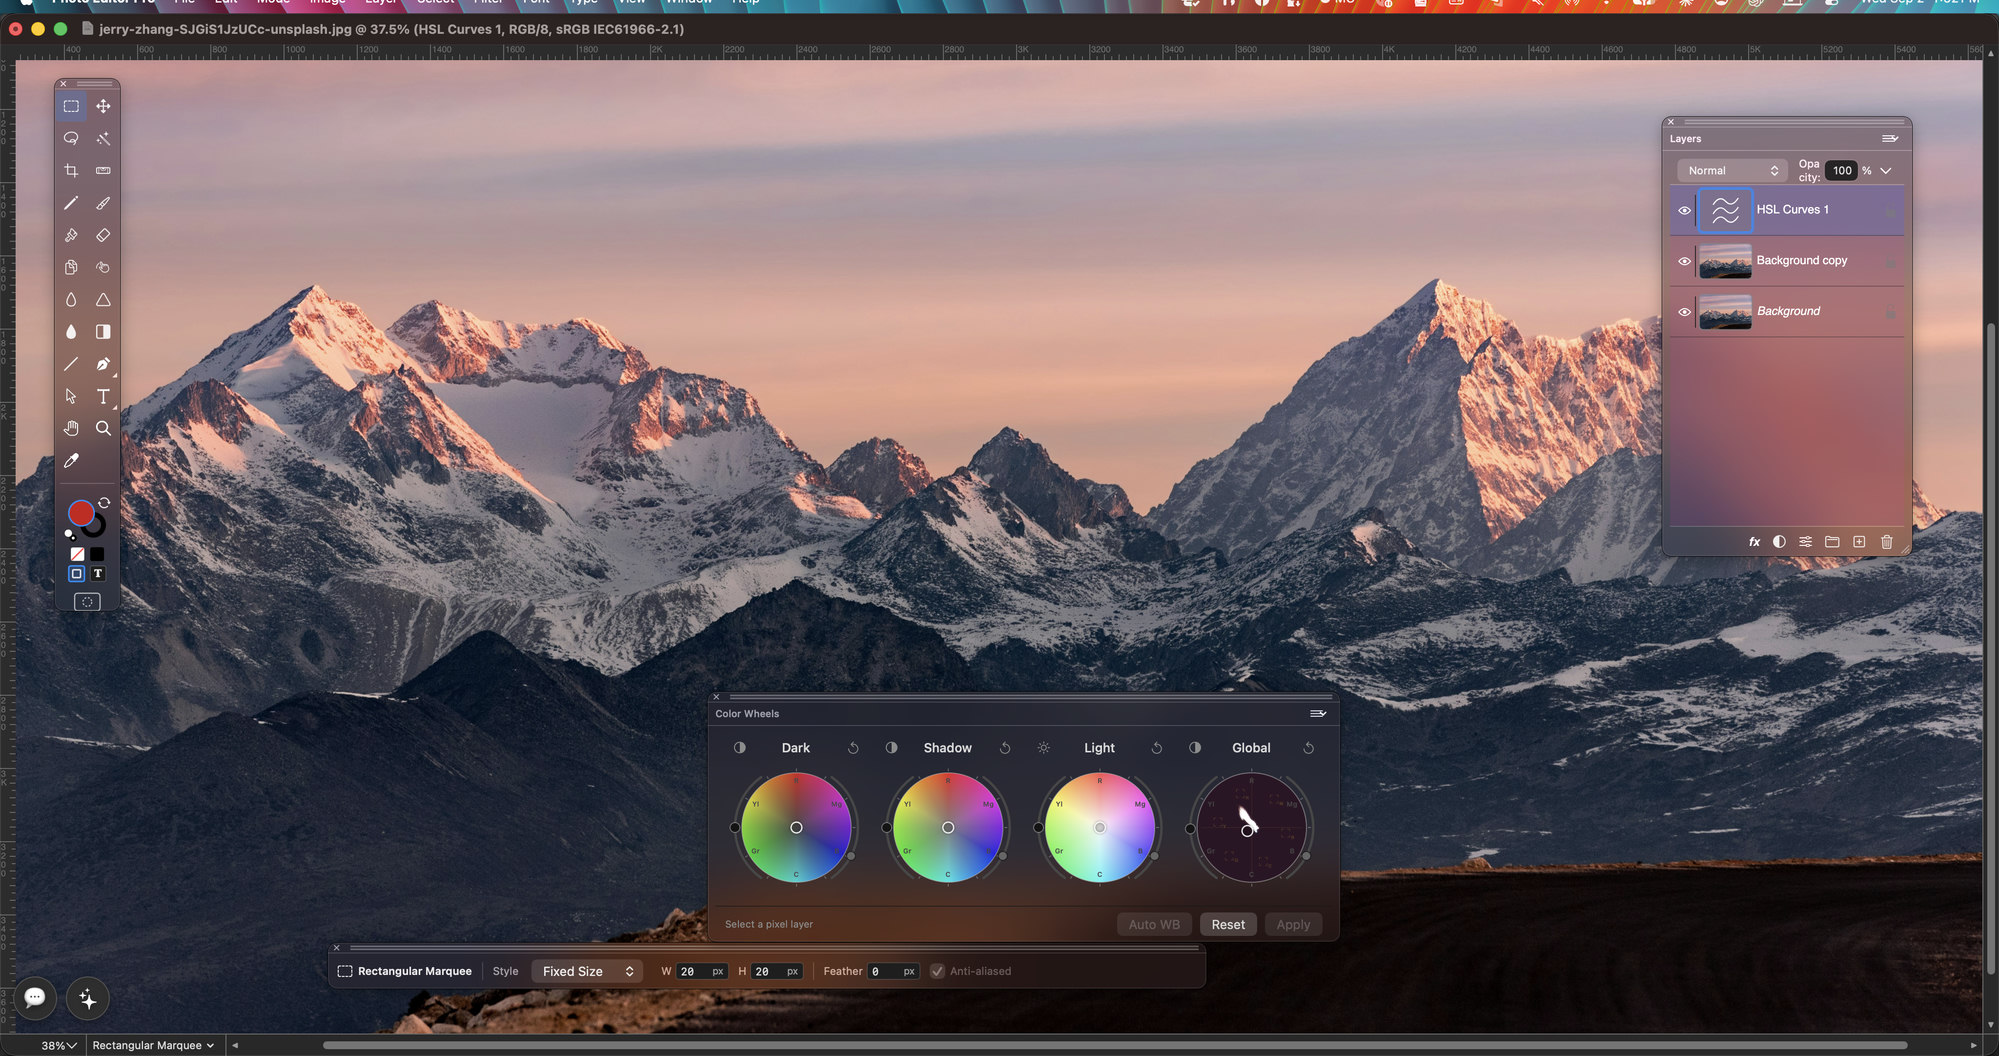

Brighten a portrait, remove a distracting detail or add a logo and text to a product photo. Keep the changes in layers so you can return to the image and revise it later.
Select the part of a photo that needs attention. Soften the selection edge, adjust the light or colour and keep the correction separate from the surrounding image.
Check the finished picture, then save a working copy with the layers you will need for later revisions.
Keep a layered TIFF as the working copy of a product image or photo composition. Reopen it in Flare to revise masks, lettering and effects; use an exported copy for the destination.
Formats and saving →Choose the photo task you want to finish, then open its section of the guide.
Keep the photo, logo and lettering on separate layers. Mask a correction to the area that needs it.
Learn more →Select the sky, a product or part of a portrait, then soften the edge before applying the correction.
Learn more →Clone over a distracting detail, paint a small correction or erase an unwanted mark on the selected layer.
Learn more →Brighten an underexposed image or correct a warm colour cast with Levels, Curves and colour adjustments.
Learn more →Try a colour treatment on an adjustment layer and reduce or change it when you review the picture later.
Learn more →Apply a controlled blur, sharpen details or add grain to the selected layer or area.
Learn more →Check the colour profile and output settings your print job requires before making a delivery copy.
Learn more →Place a logo over a product photo and resize the vector artwork for the composition.
Learn more →Use AI Console for vector artwork beside the photo, or connect a compatible assistant to supported photo-editing tools.
Learn more →Give a portrait the colour and grain of a film stock, or clean a noisy night shot, with the OpenFX plugins made for colour grading. In the direct download of Flare, installed plugins appear in the Filter menu and work on the selected layer.
Plugins are installed and licensed separately from their makers.
Popular plugins and where to get them →Crop a photo, adjust its colour and keep the stages of a retouch in History. Use familiar shortcuts while checking each change.
The workspace →
Open a palette from the Window menu and place it where you work.
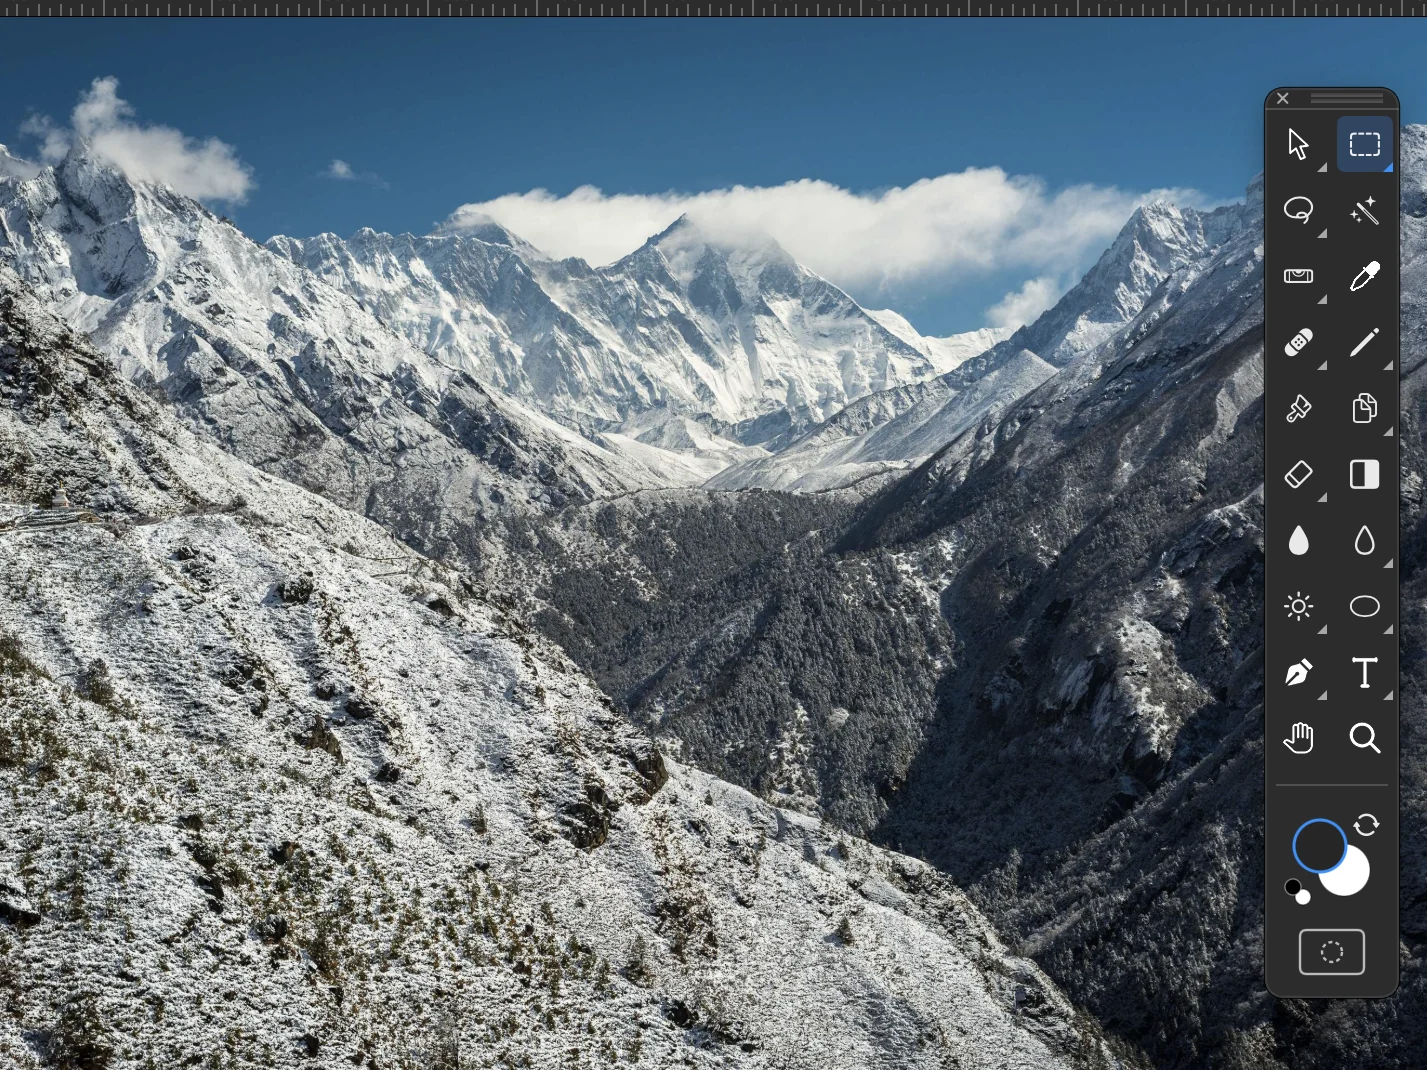
Pick the tool for the next step: selections, brushes, clone stamp, eraser, type or zoom. The circles at the bottom show the foreground and background colours.
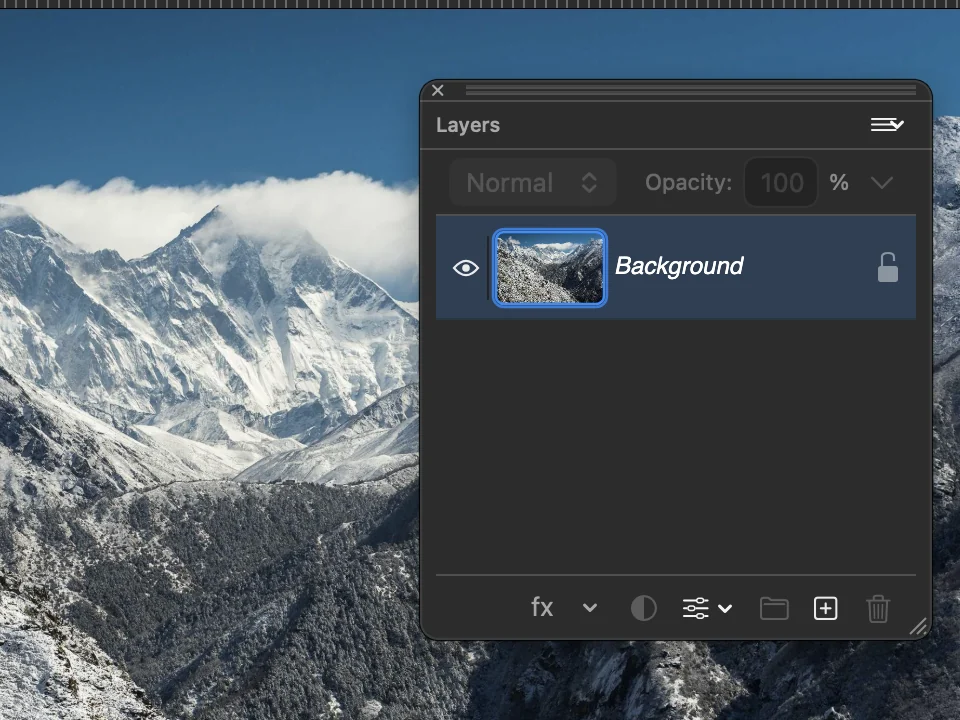
See the layers of the picture in order. Set the blend mode and the opacity of each one, add an effect or an adjustment.
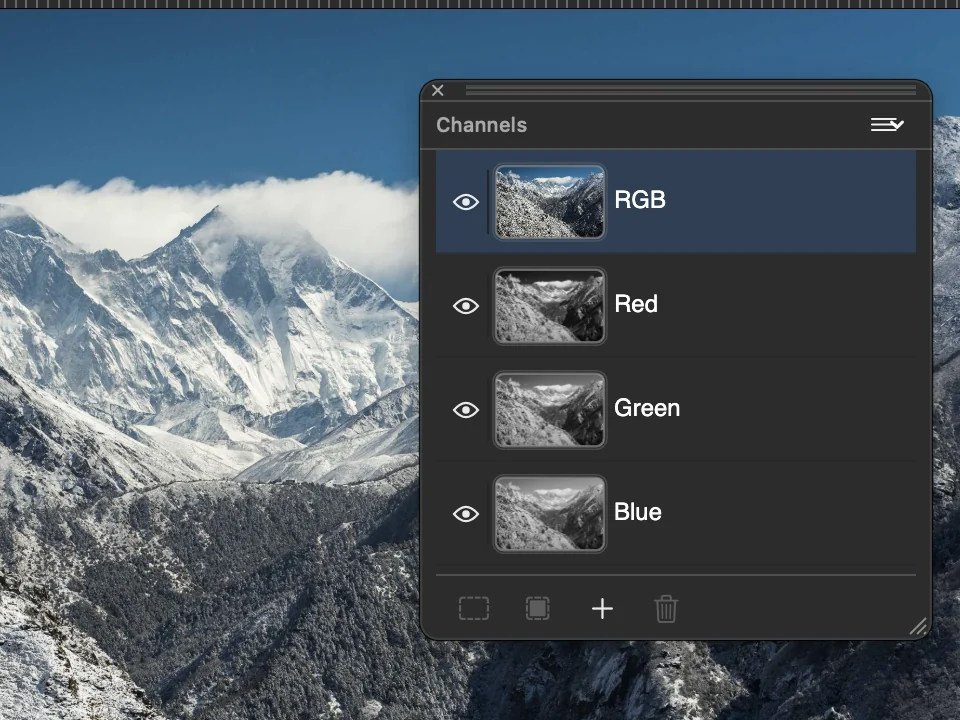
Look at the red, green and blue channels of the photo one at a time.
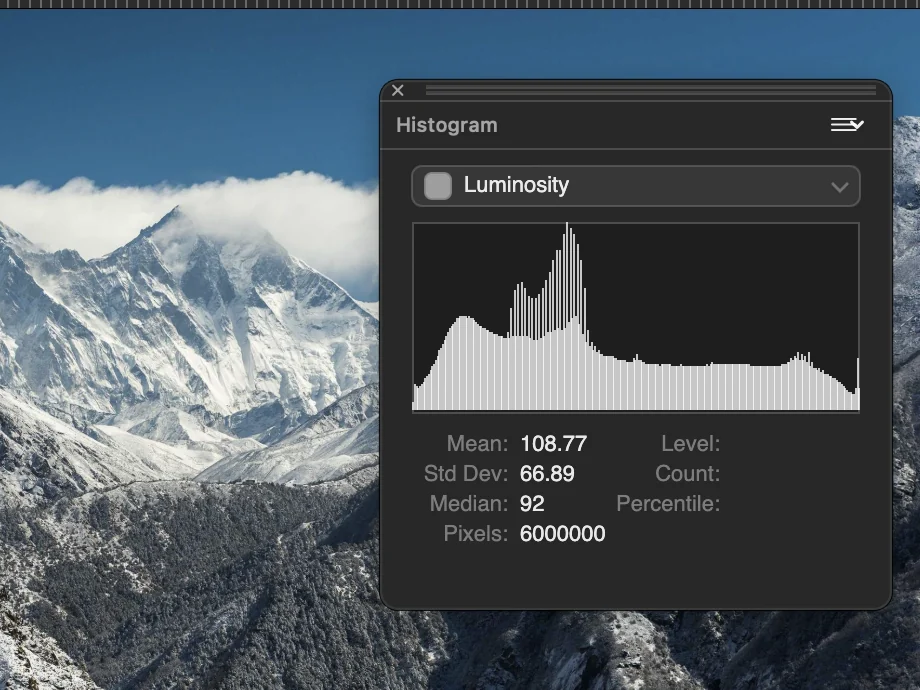
Check how the tones of the photo are spread from shadows to highlights, with mean and median values.
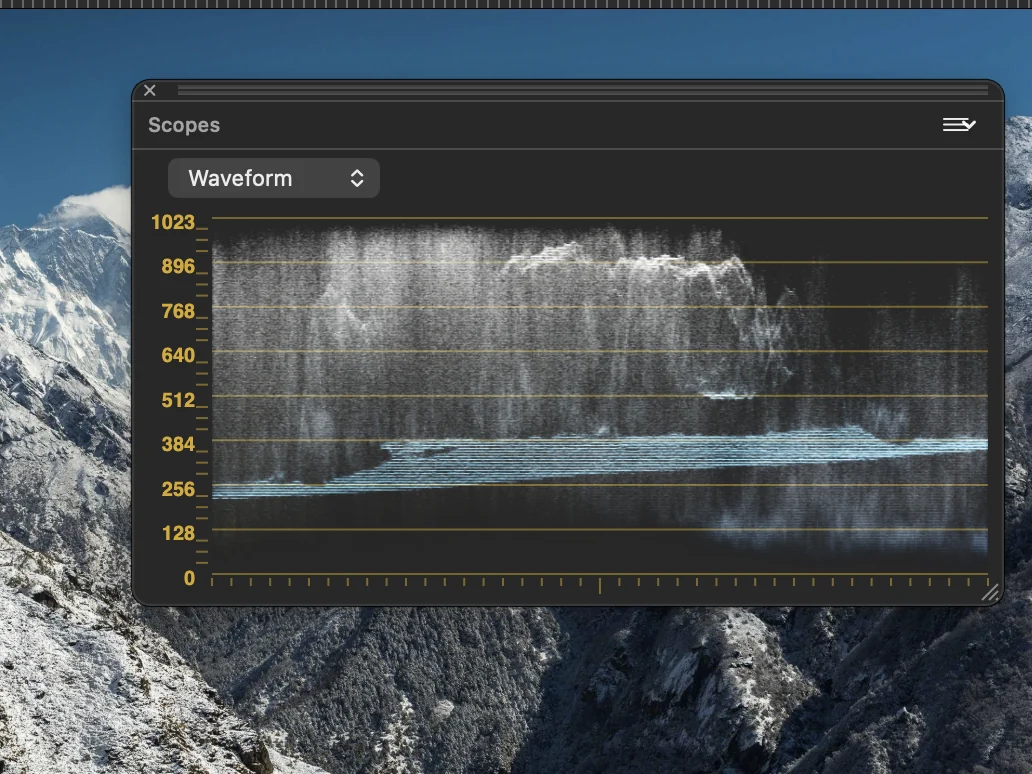
Read the waveform of the picture to judge exposure and colour balance.
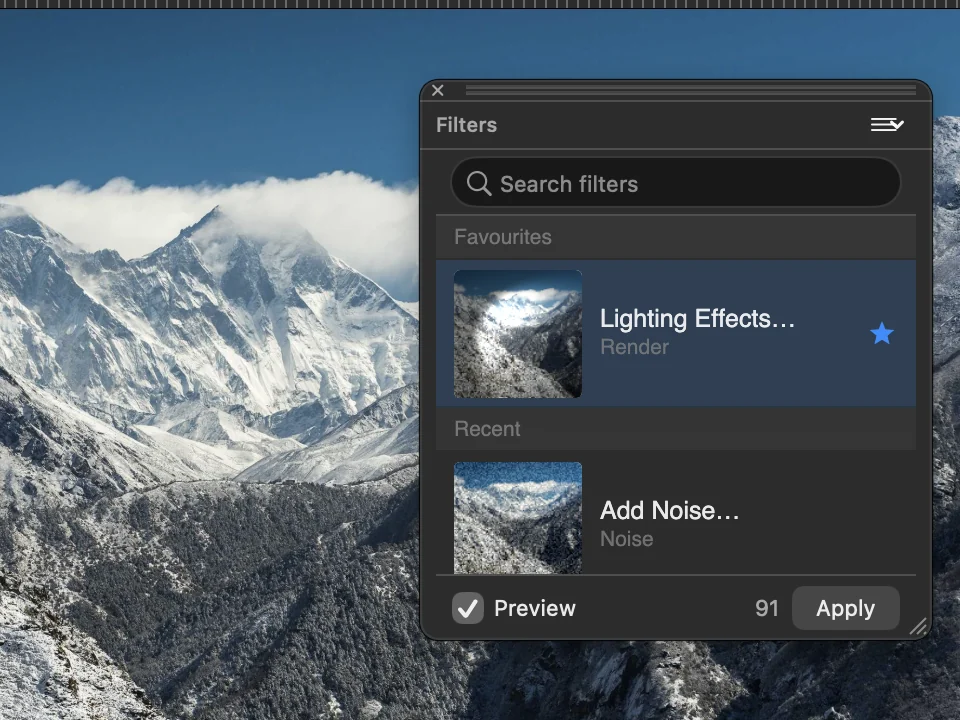
Search the filters, keep the ones you use as favourites and find the recent ones. Preview a filter before you apply it.
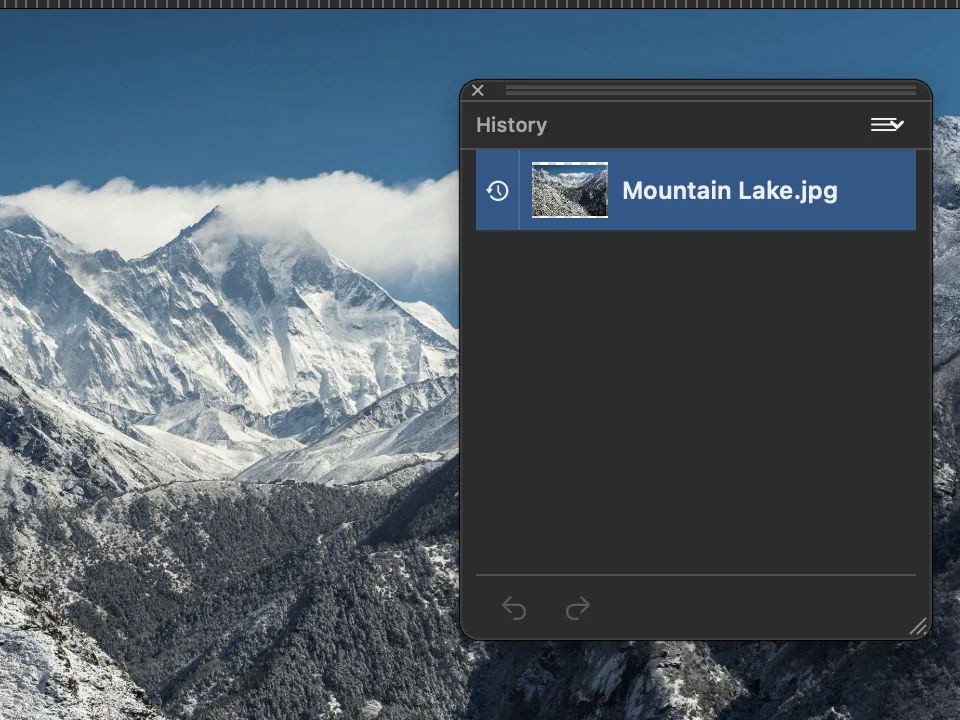
Go back to an earlier step of the edit.
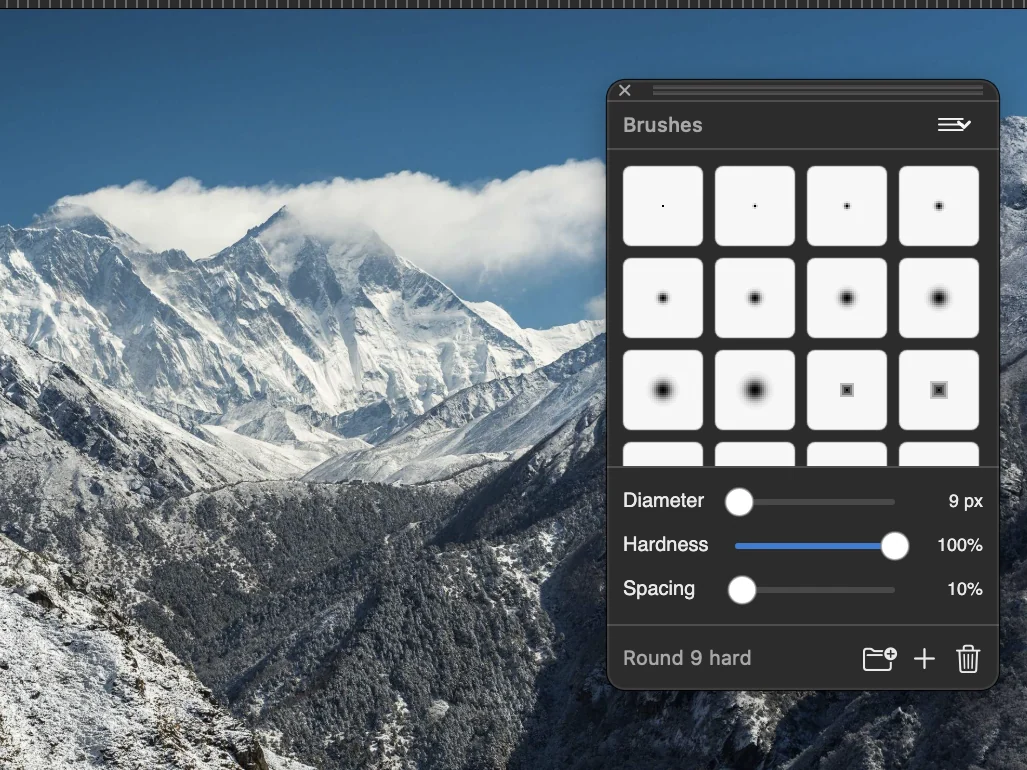
Choose a brush tip and set its diameter, hardness and spacing.
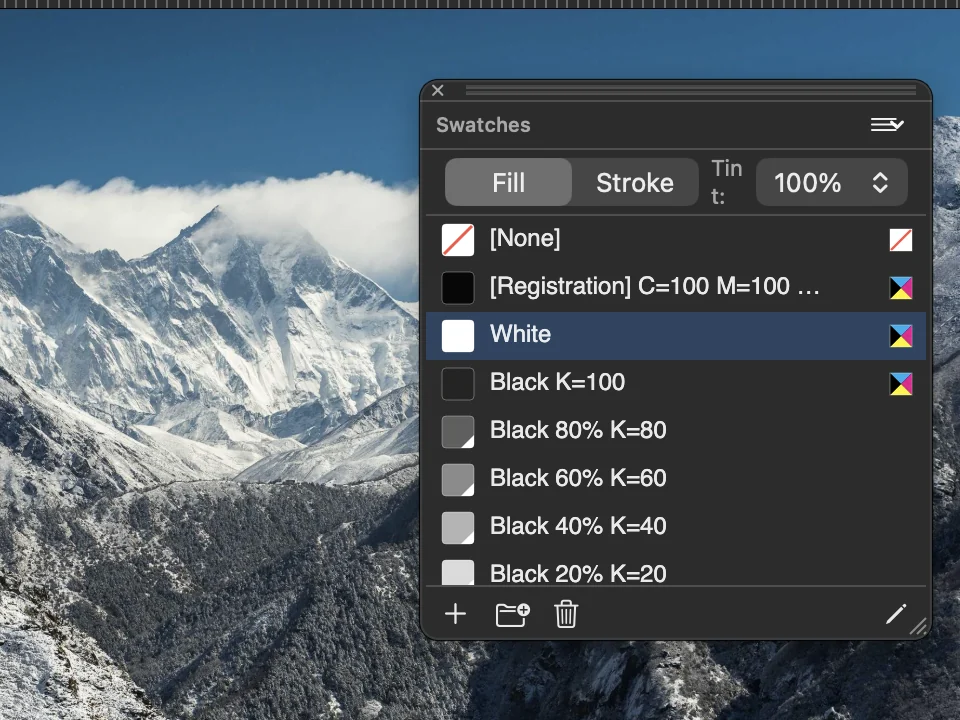
Keep the colours you use in one list and apply one to the fill or to the stroke.
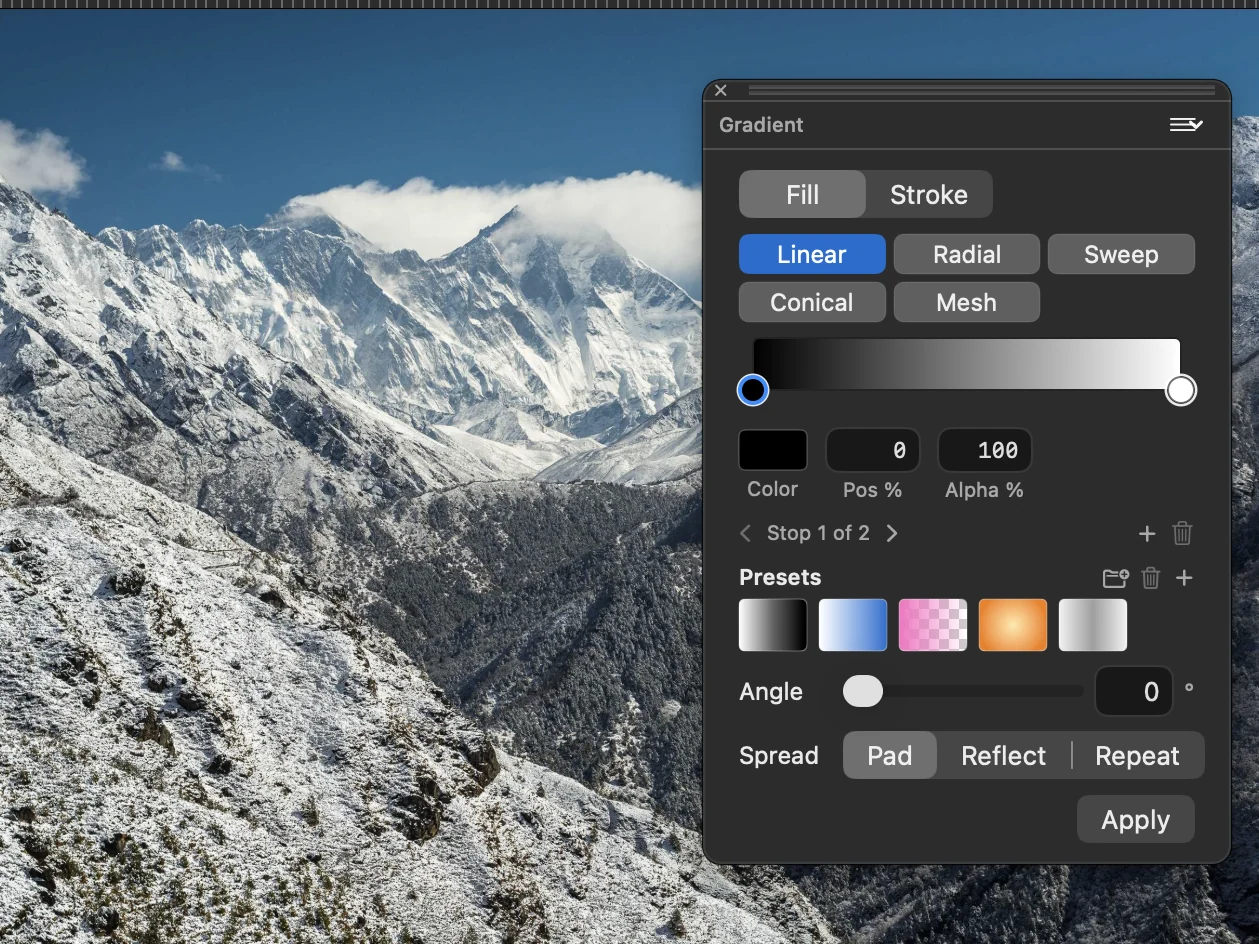
Choose a linear, radial, sweep, conical or mesh gradient. Set the colour and position of each stop, then the angle and the spread.
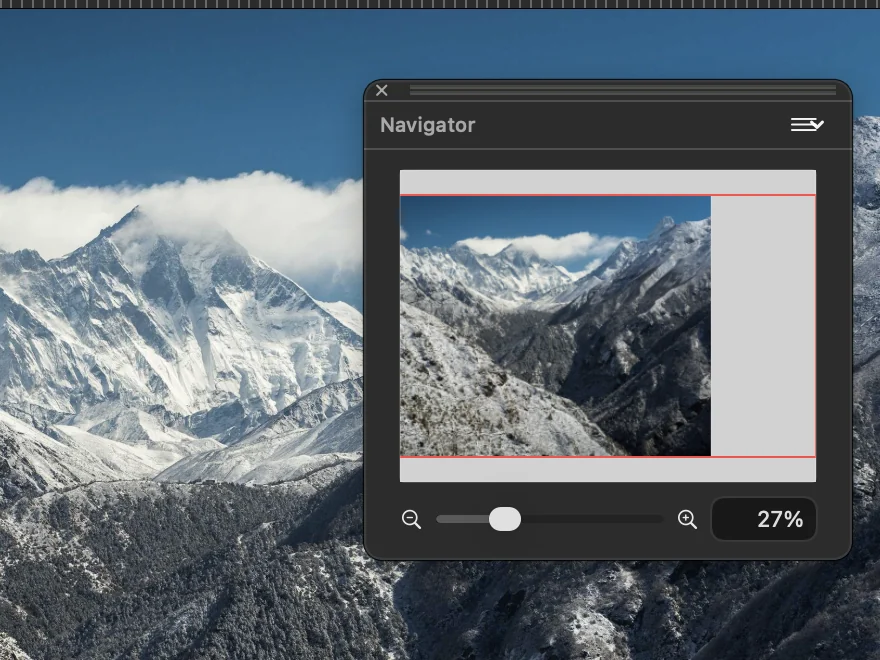
See the whole photo with a frame around the part on screen. Drag the slider to zoom.
Version 26.6 is available as a direct download, with automatic updates.
Questions and feedback: Join us on Discord, or use Help ▸ Send Feedback… inside the app. What the app does, and its current limits, is on the features page.