Artwork you can keep editing
Change the date on a poster or recolour a logo by reopening the saved SVG.
Make a business logo, trace a sketch, set the lettering on a label or prepare a flyer for print. Start with the task you want to finish.
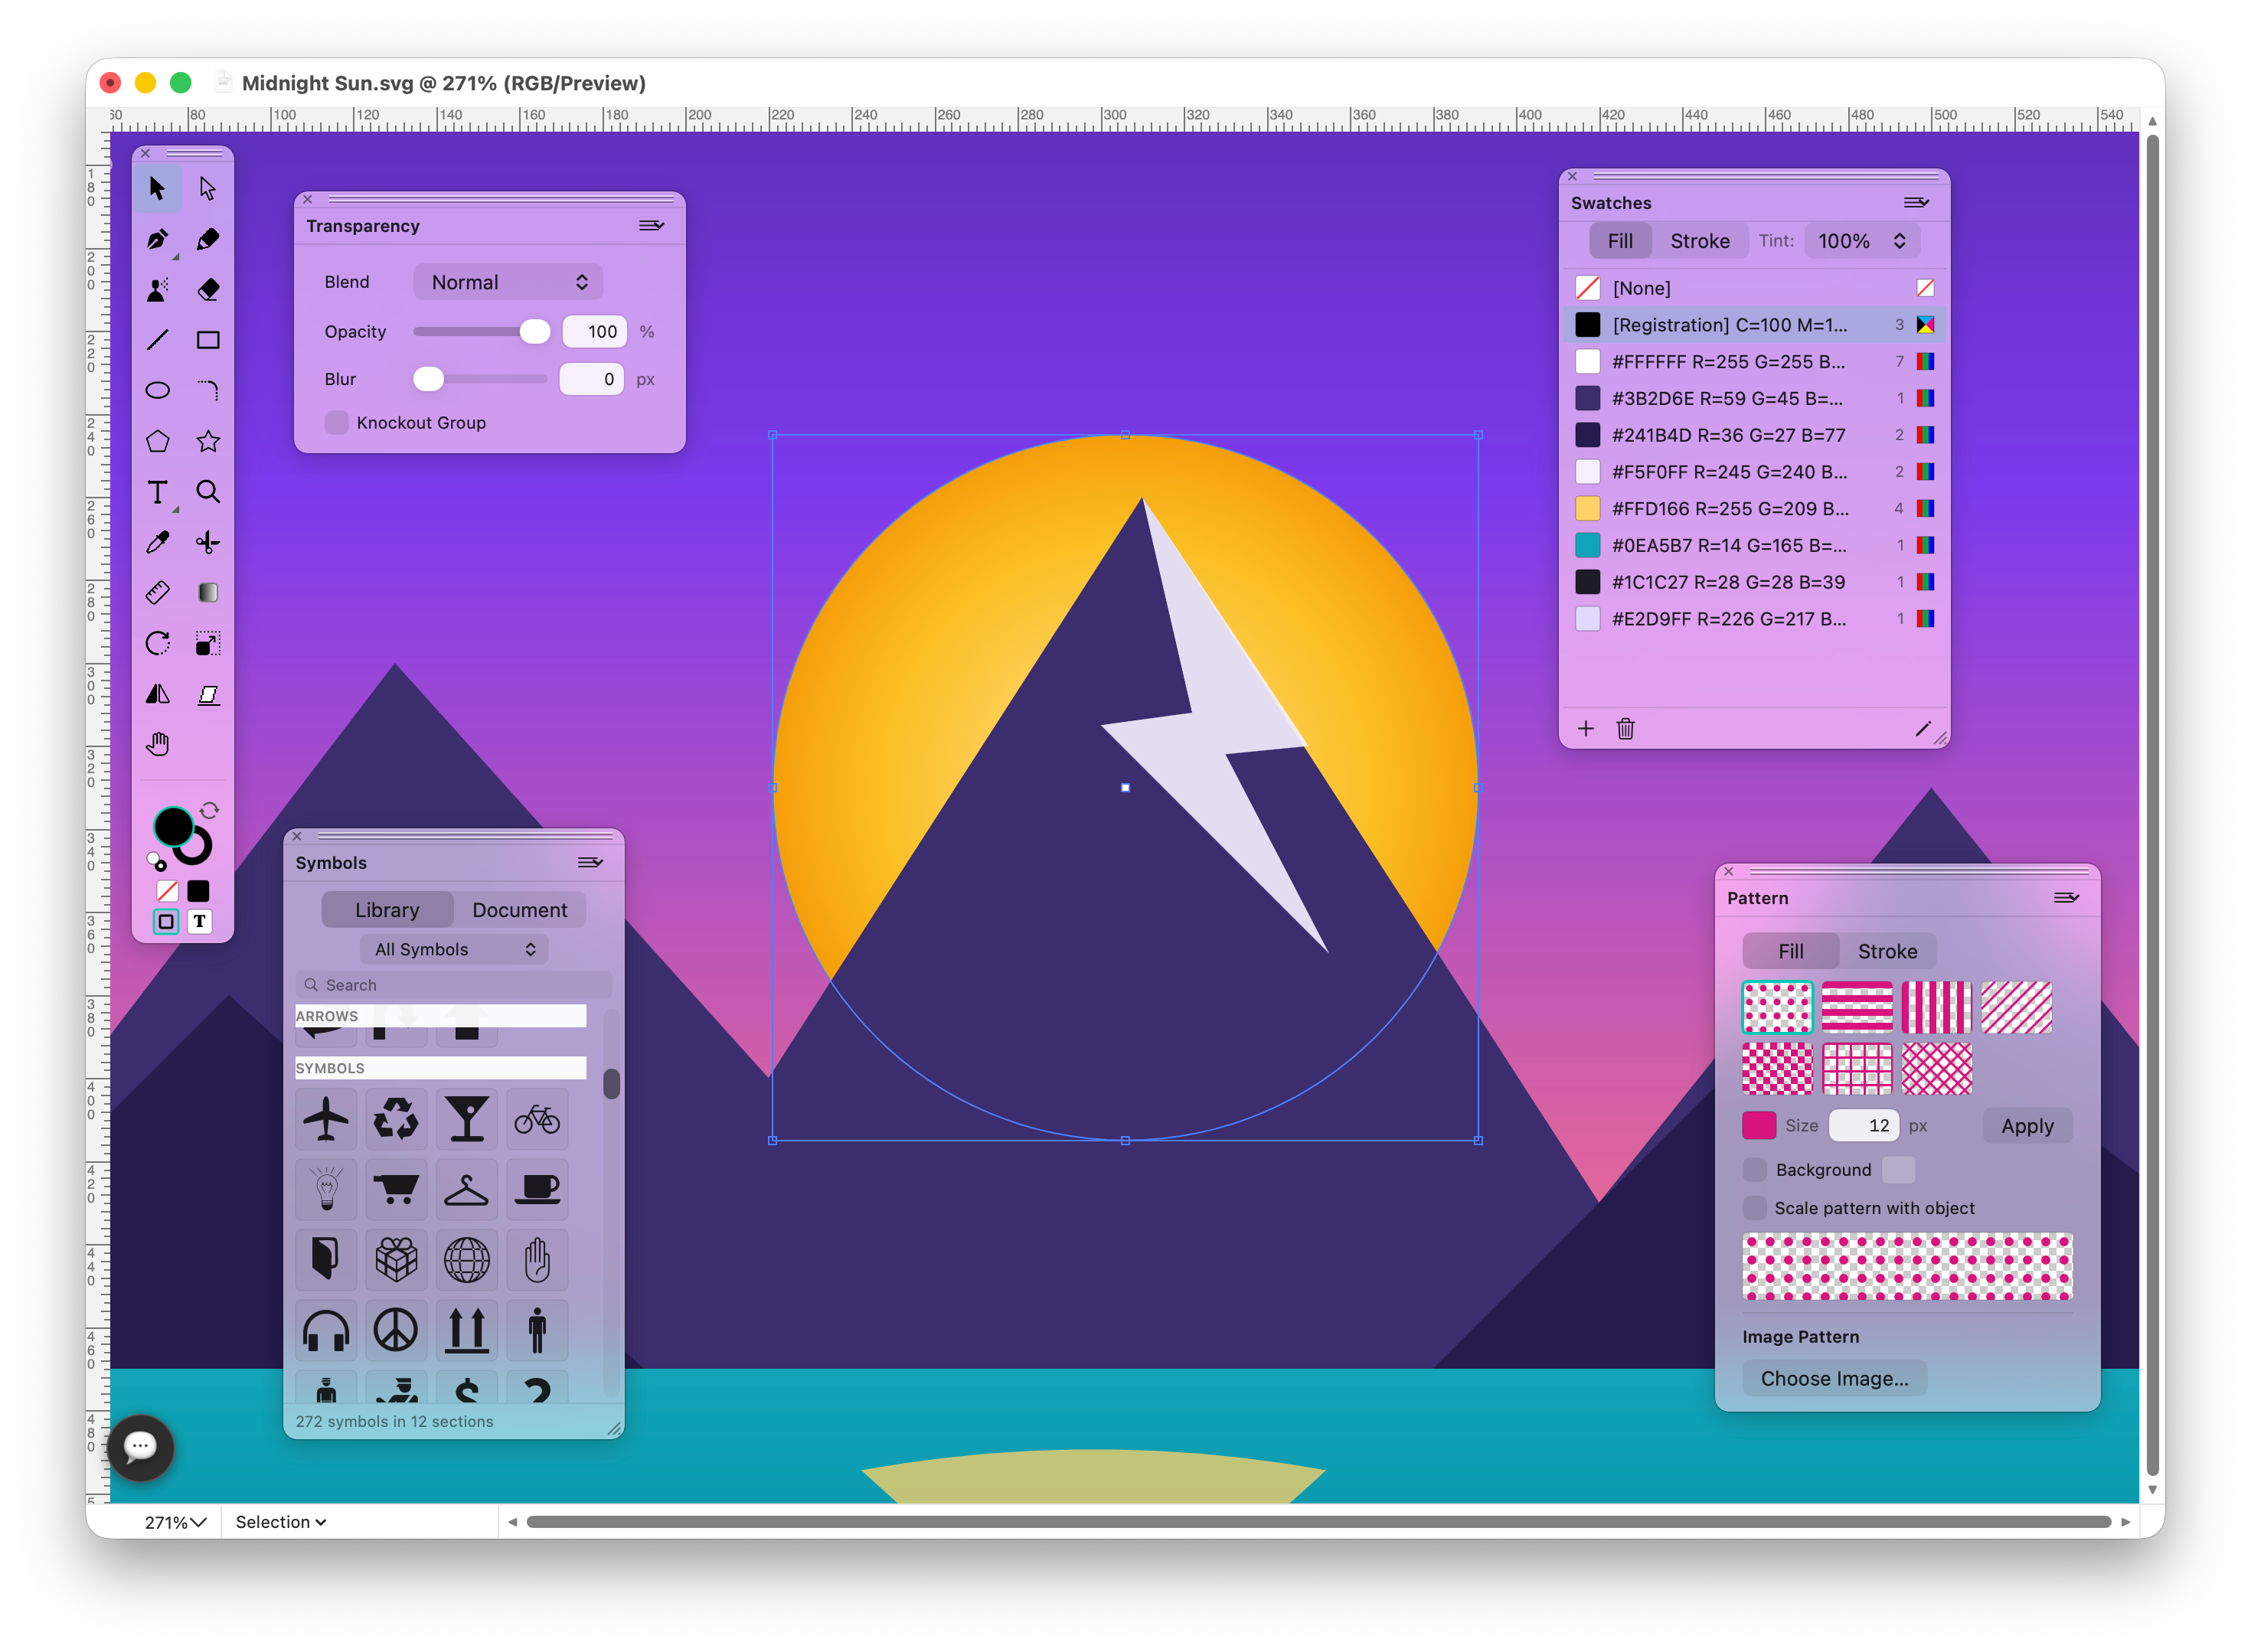
Build a club badge, business logo or event poster, then keep the editable artwork for the next revision.
Change the date on a poster or recolour a logo by reopening the saved SVG.
Keep the colour controls nearby while choosing a brand palette, or make room for the canvas while drawing.
Draw the symbol, add the name and export a copy for the website or printer.
Ask for a simple badge idea, inspect the result and refine its shapes yourself.
Arrange the workspace for the job: lettering for a label, colours for an illustration or layers for a busy poster. Arrange a busy design →
Keep the layers, colours and type controls you need beside the artwork. Hide the panels when checking the whole composition.
Enter the same dimensions for a set of icons or rotate a badge to the angle you need.
Open the colour controls when matching a brand, then switch to type controls to finish the label.
Use the document overview to move from a poster’s full composition to a small logo detail.
Restore the panel arrangement when moving from detailed drawing to a new project.
 Control Palette
Exact X/Y, W/H, scale, rotation, alignment, stroke, fill and corner controls in one horizontal strip.
Control Palette
Exact X/Y, W/H, scale, rotation, alignment, stroke, fill and corner controls in one horizontal strip.
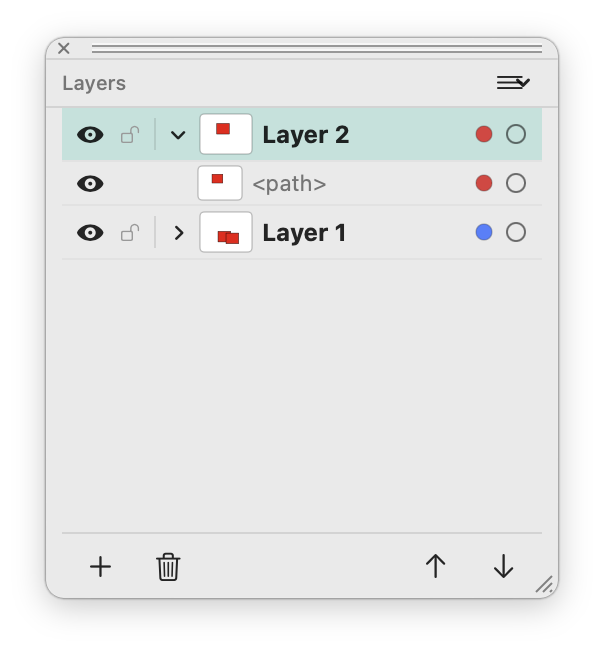 Layers
Layer visibility, locks, disclosure, object rows, layer colors and stacking controls.
Layers
Layer visibility, locks, disclosure, object rows, layer colors and stacking controls.
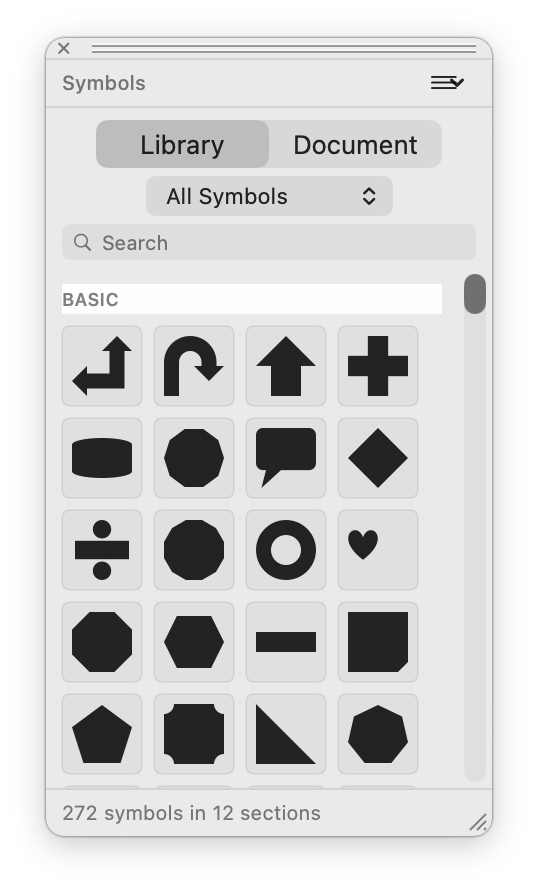 Symbols
A searchable built-in symbol library with document symbols as a separate tab.
Symbols
A searchable built-in symbol library with document symbols as a separate tab.
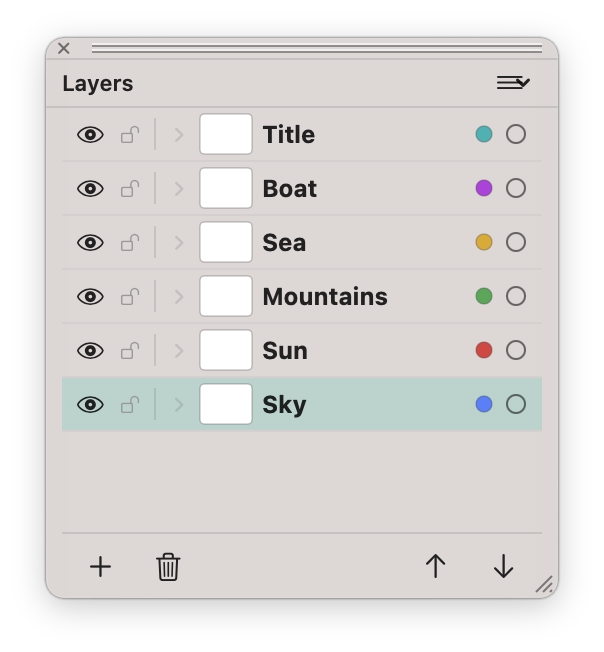 Palette style
Compact floating panels keep the app close to the canvas instead of burying controls in inspectors.
Palette style
Compact floating panels keep the app close to the canvas instead of burying controls in inspectors.
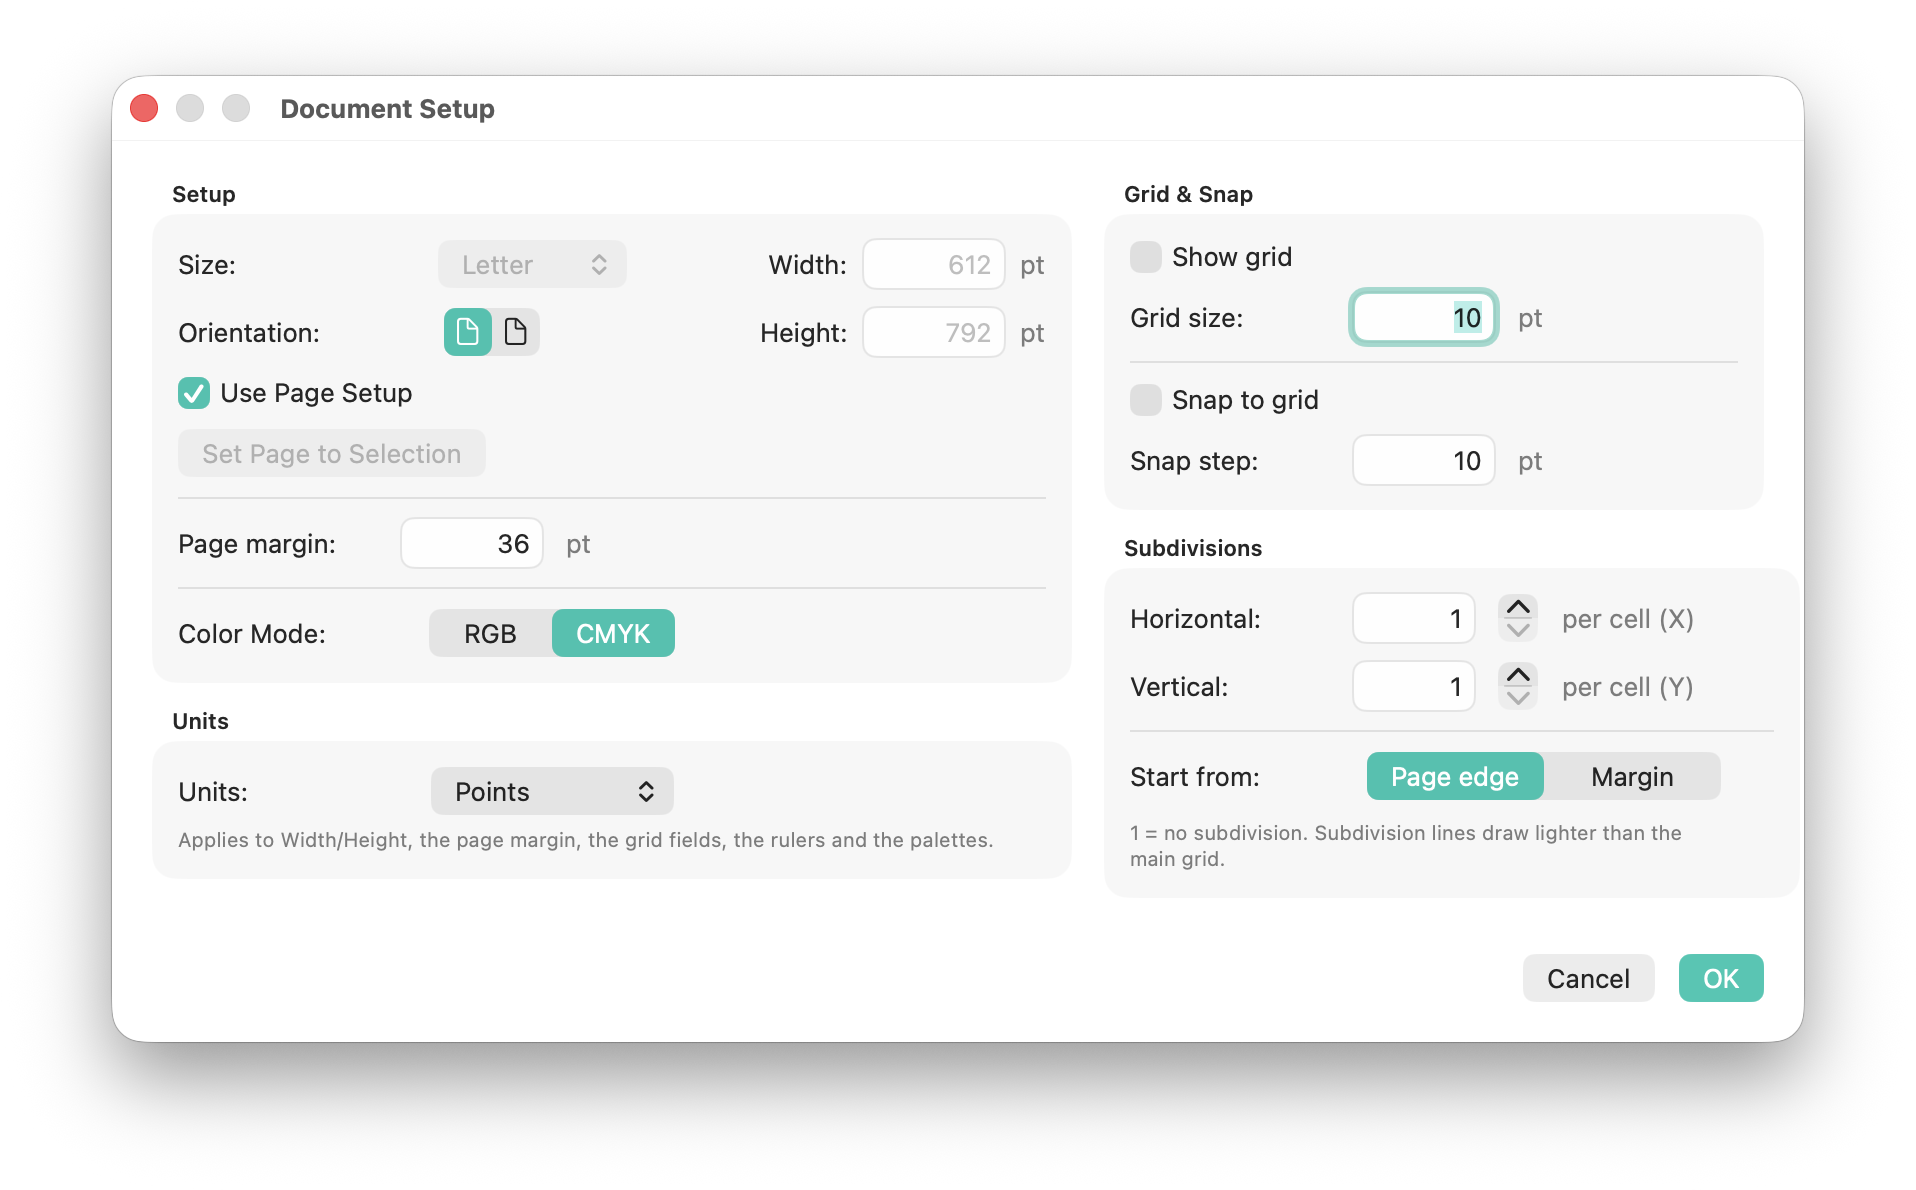
Choose the size the job needs before arranging the artwork.
Start with a familiar paper size for a flyer or enter custom dimensions for a label.
Revisit the document size if the printer or website needs a different format.
Drag guides from the rulers to align a poster’s text and images.
Use the grid and snapping to keep a row of icons evenly spaced.
Measure the space around a logo or match artwork to a supplied size.
Keep alternative shapes beside the canvas while deciding which version to use.
Place buttons, icons and device frames from a ready-made library instead of drawing them again. New in version 26.2.
Choose a library from the Design Systems gallery in New Document or the welcome window: Material Design 3, Bootstrap, IBM Carbon, Ant Design, Untitled UI React, Lucide icons, payment logos and device bezels.
Material Symbols, Carbon, Fluent, Octicons, Heroicons, Phosphor, Tabler, Iconoir, Font Awesome Free, Simple Icons and more ship with the app, each with its licence. Switch on the ones you use.
Search by name, browse thumbnails and drag or double-click a component onto the page. Add your own libraries from .svg, .sketch or .fig files.
The Resources gallery links the main official design resources, such as the Apple UI Kits and SF Symbols. Add Kit… turns your downloaded Sketch or Figma kit into a library.
Browse the components of the document and of your libraries by category, with a preview pane. Open in Artboard places an asset in its own artboard.
The Artboards palette shows a thumbnail of each artboard. Double-click a row to centre that artboard in the window.
Start with basic shapes, then draw the custom curves and details the design needs. Design logos & icons →
Choose a shape tool for a badge, the Pen for a custom symbol or freehand drawing for an illustration.

Move the whole logo or adjust one point on its outline.
Draw a curved symbol with the Pen and refine its corners.
Add a hand-drawn line to a greeting card or illustration.
Repeat small marks to create a decorative texture.
Trim a curve or remove part of a shape as you refine the logo.
Combine rectangles and circles into a simple website icon.
Set a product name or curve a club name around a badge.
Reuse a supplied shape when a small symbol needs adding to a diagram.
Position a gradient to give a drawn object depth.
Rotate the view or artwork to work comfortably on an angled detail.
Refine a traced mark or custom symbol before using it at a larger size. Design logos & icons →
Join open ends and align points to close a shape.
Turn a thick line into an editable filled outline.
Add an offset border around a badge or lettering.
Reduce unnecessary points in a traced shape before adjusting its curves.
Round selected corners to soften a symbol.
Reverse a path when its direction affects an applied treatment.
Apply a supported path effect to an illustration and inspect the result.
Refine the available shading controls for a drawn shape.
Inspect the mark at its final size before exporting it.
Arrange the logo, images, symbols and lettering into one composition. Design logos & icons →
Duplicate a useful object to create a repeating row or pattern.
Bring a heading forward or move a background shape behind the artwork.
Group a badge’s parts so you can move them together.
Expand supported artwork when you need to edit its separate pieces.
Prepare overlapping shapes for the next editing or output step.
Make an image copy of a selected part for another application.
Create a sequence between two shapes for a decorative effect.
Cut the centre out of a badge or letter with a compound shape.
Combine or subtract shapes to create a custom icon.
Clip artwork inside the outline of a badge or frame.
Add crop marks when they are required by the print workflow.
Fit a text frame to its caption or headline.
Start a label or diagram with a reusable shape.
Choose a palette for a logo, carry it into a poster and save useful colours for the next design. Draw posters & artwork →
Pick the colours for a business logo or club badge.
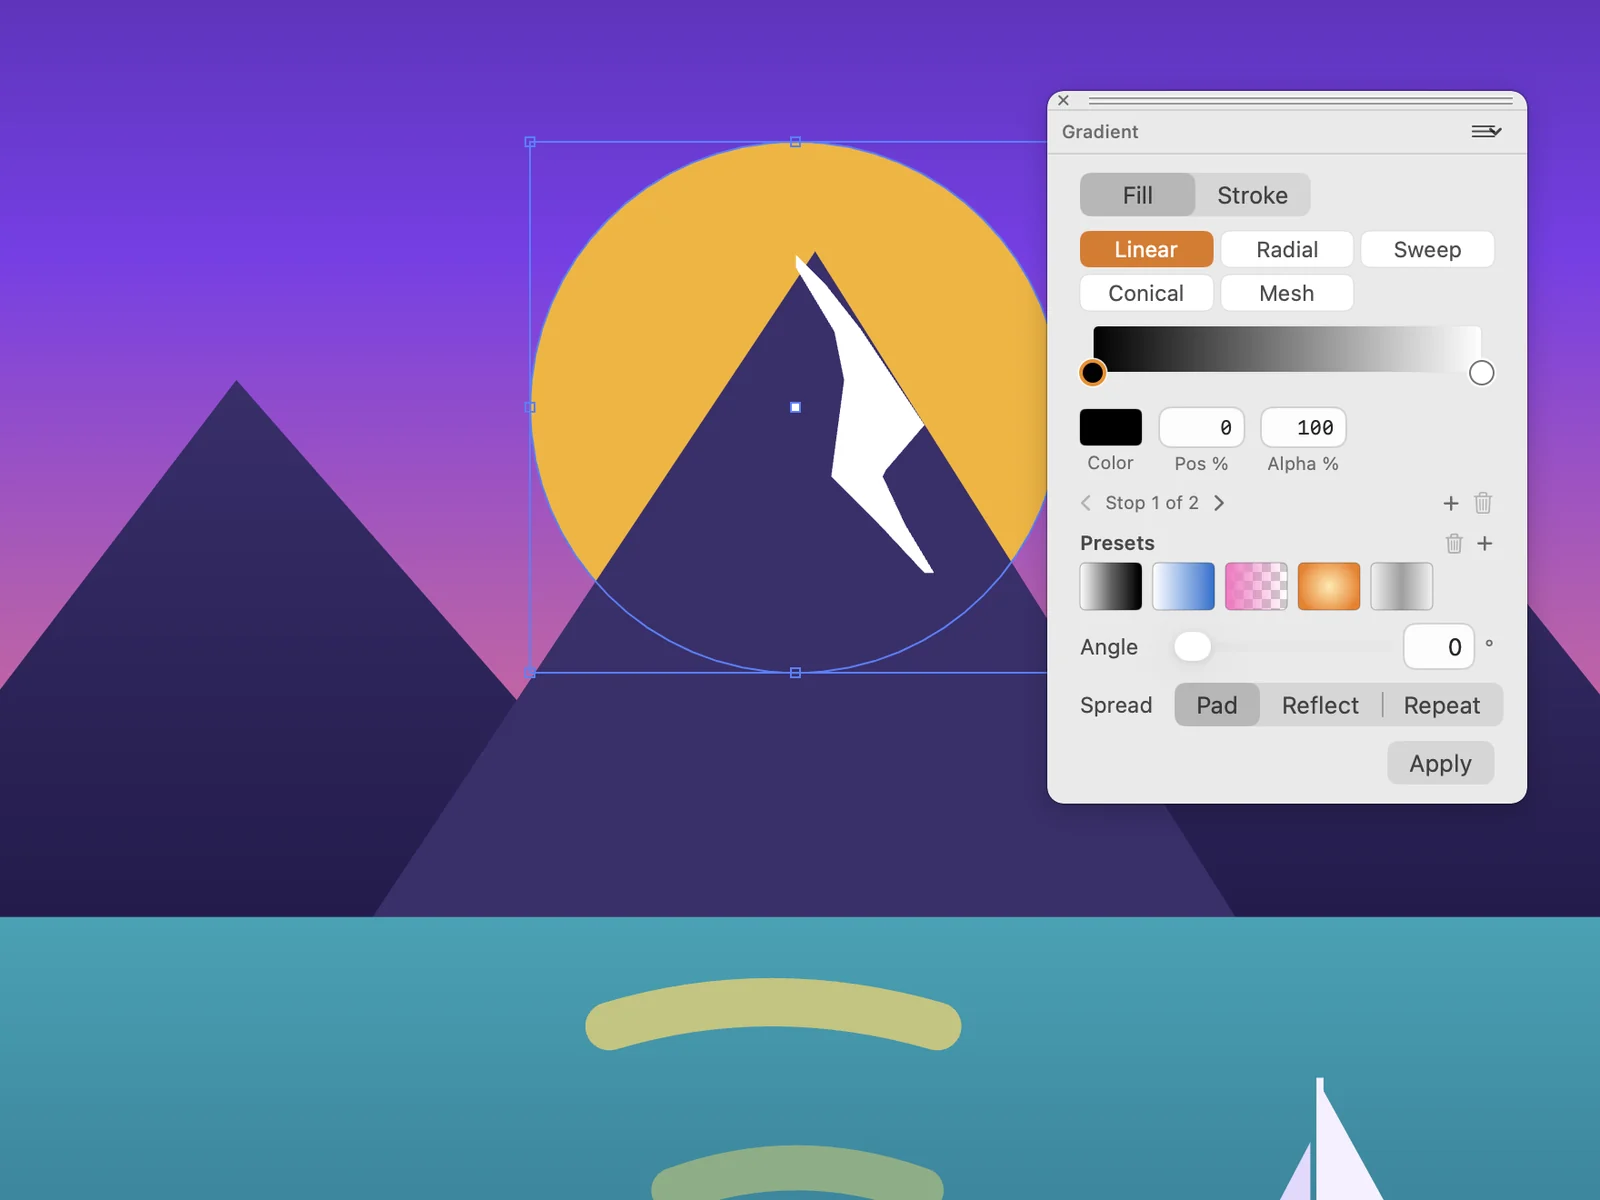
Set a badge’s interior colour and its contrasting outline.
Match line weights across website icons.
Save the brand colours as swatches and reuse them on related artwork.
Choose the colour values required for a print job.
Repeat a motif as a pattern in a card or poster.
Use hatching where a diagram needs a patterned area.
Build a custom brush for repeated decorative marks.
Reuse a symbol across a set of related designs.
Adjust opacity where two shapes overlap.
Try an alternative palette before committing to the final design.
Apply a supported effect to a shape and inspect the result.
Check the colour treatment at the artwork’s intended size.
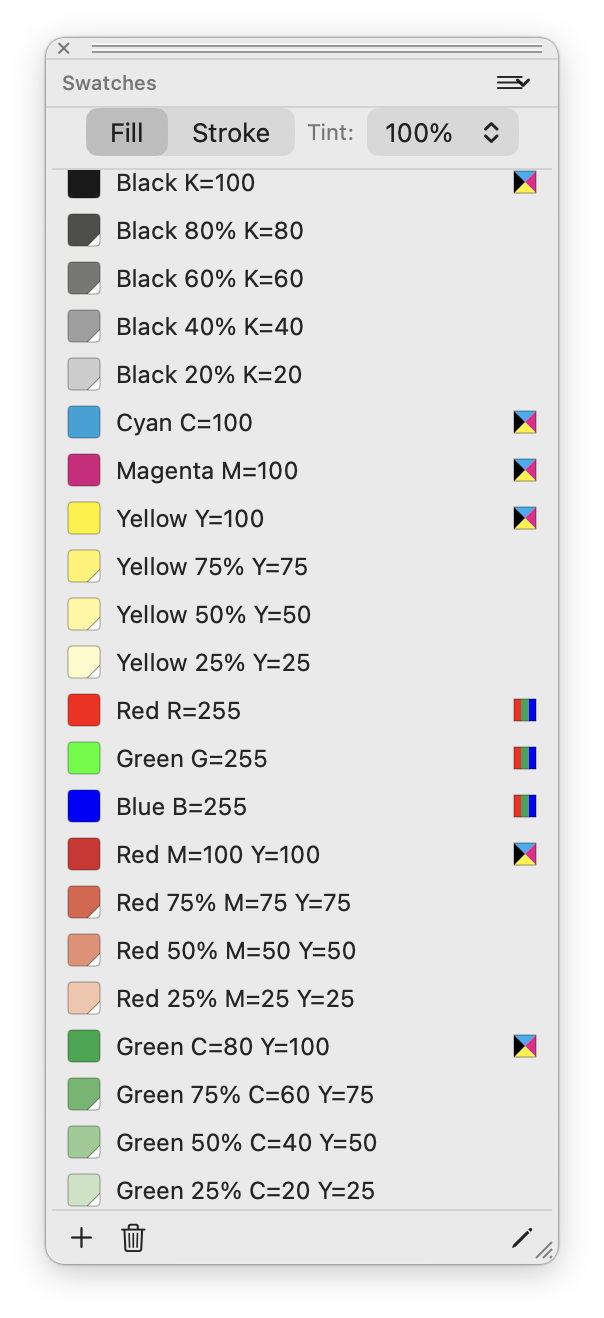 CMYK swatches
Process swatches, tints and RGB colors can live together in the reusable swatch list.
CMYK swatches
Process swatches, tints and RGB colors can live together in the reusable swatch list.
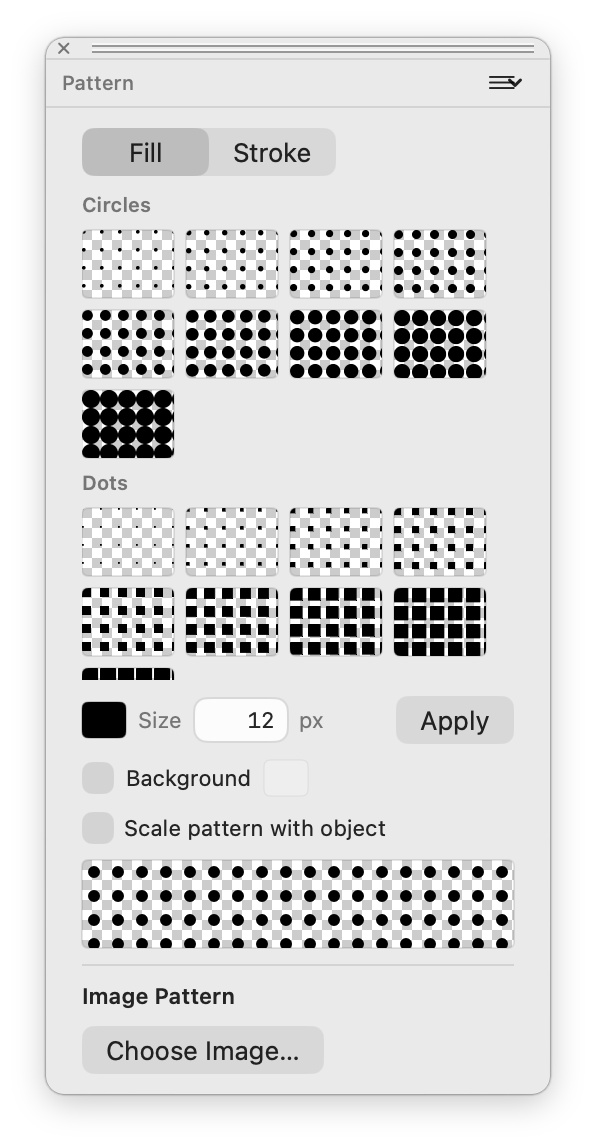 Pattern fills
Dot, circle and image-based patterns can be applied to fills or strokes.
Pattern fills
Dot, circle and image-based patterns can be applied to fills or strokes.
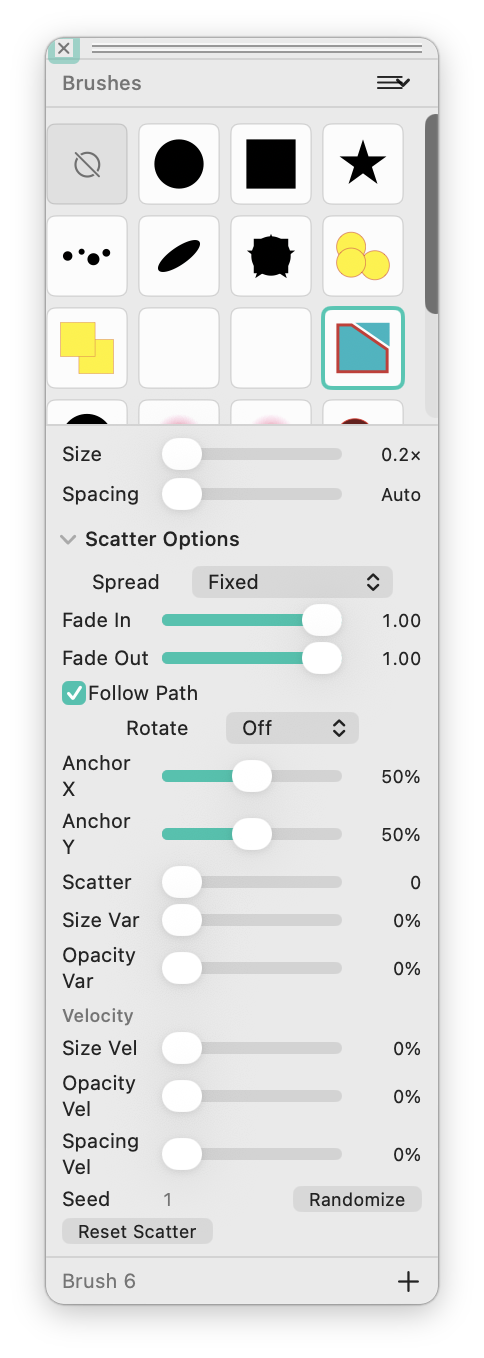 Brush controls
Scatter settings include size, spacing, spread, fade, follow path, anchors, variance and seed.
Symbols library
Reusable artwork is organized by category and searchable from a dedicated floating panel.
Brush controls
Scatter settings include size, spacing, spread, fade, follow path, anchors, variance and seed.
Symbols library
Reusable artwork is organized by category and searchable from a dedicated floating panel.
Choose a readable headline, arrange the supporting details and fit the lettering to the artwork. Design labels & lettering →
Add the event name and date to a poster.
Use a text area for a longer description on a flyer.
Curve a club name around a badge.
Set paragraphs to suit the space available in a handout.
Try installed fonts for the identity you are designing.
Adjust letter spacing to balance a short logo name.
Refine paragraph spacing and alignment in a text area.
Change a title’s case to suit the design.
Continue a longer piece of text into another linked frame.
Let a paragraph flow around a supported artwork object.
Create text outlines when the delivery workflow requires lettering as shapes.
Fit a headline to the width available on the poster.
Check the smallest text at the size it will be read.
Place an image in your artwork, inspect it and decide whether to keep it as a picture or trace it into shapes. Trace a sketch or logo →
Place a photo in a poster or bring in a supplied logo.
Keep the source linked when the image may be updated later.
Use Links to locate a missing image or inspect its source.
Import a scan of a drawing as the starting point for artwork.
Trace a bitmap logo and refine the resulting vector shapes.
Try a mosaic treatment for a decorative image effect.
Adjust the supported image treatment to suit the surrounding artwork.
Export a selected portion as an image for another use.
Check the result at its intended size and keep the editable master.
Bring in a customer’s logo, edit a supported artwork file and export the version your website, colleague or printer needs. Reuse & share artwork →
| Workflow | Formats | What happens |
|---|---|---|
| Native save | SVG | Documents are saved as standard SVG files you can keep editing. |
| Design files | Sketch, Figma (.fig) | Sketch and Figma files open as editable documents: artboards, symbols with overrides, text, images, gradients, shadows and smooth corners. A multi-page file can open as a document, as an asset library or both. File ▸ Import from Figma… also loads a file by link. |
| Sketch export | .sketch | File ▸ Export Sketch… writes a .sketch file that Sketch opens, with unsupported effects flattened and listed. |
| Resource archives | ZIP | A .zip of images, SVGs, PDFs or design files opens as one document, with one artboard per file. |
| Vector import | SVG, PDF, AI, EPS | PDF, Illustrator and EPS files are converted into editable vector artwork rather than flattened previews where possible. |
| Image import | PNG, JPEG, GIF, BMP, TIFF, HEIC, HEIF | Images can be opened as documents or placed inside existing SVG documents. |
| Export | PDF, PNG, TIFF | Create a vector PDF or an image file for the web. |
| Clipboard | Illustrator vector paste | Artwork copied from Illustrator can be pasted into SVG Editor as editable objects. |
| Share and print | SVG, PNG, PDF, print | Share artwork in common formats and print from your Mac. |
File ▸ Share for Review… publishes your artboards to a web page through iCloud. Reviewers comment in the browser, and their comments come back to the Comments palette as numbered pins on the canvas. A pasted review link shows a preview of the design.
Inspect imported artwork before editing, especially complex effects, text and linked assets.
Use the printer’s dimensions and colour requirements, then inspect the exported PDF before handing it over. Prepare artwork for print →
Choose a colour mode for the requested output.
Set the print colours for the artwork and check the values.
Use the available PDF options to retain supported CMYK values.
Review scale, position and page settings in the print dialog.
Export the PDF, reopen it and have the printer review the file for the job.
Describe one design idea, inspect the generated artwork and refine the parts you want to keep. Start artwork with AI →
Ask for a simple subject and specify the intended use.
Try a two-colour mountain badge as the starting idea.
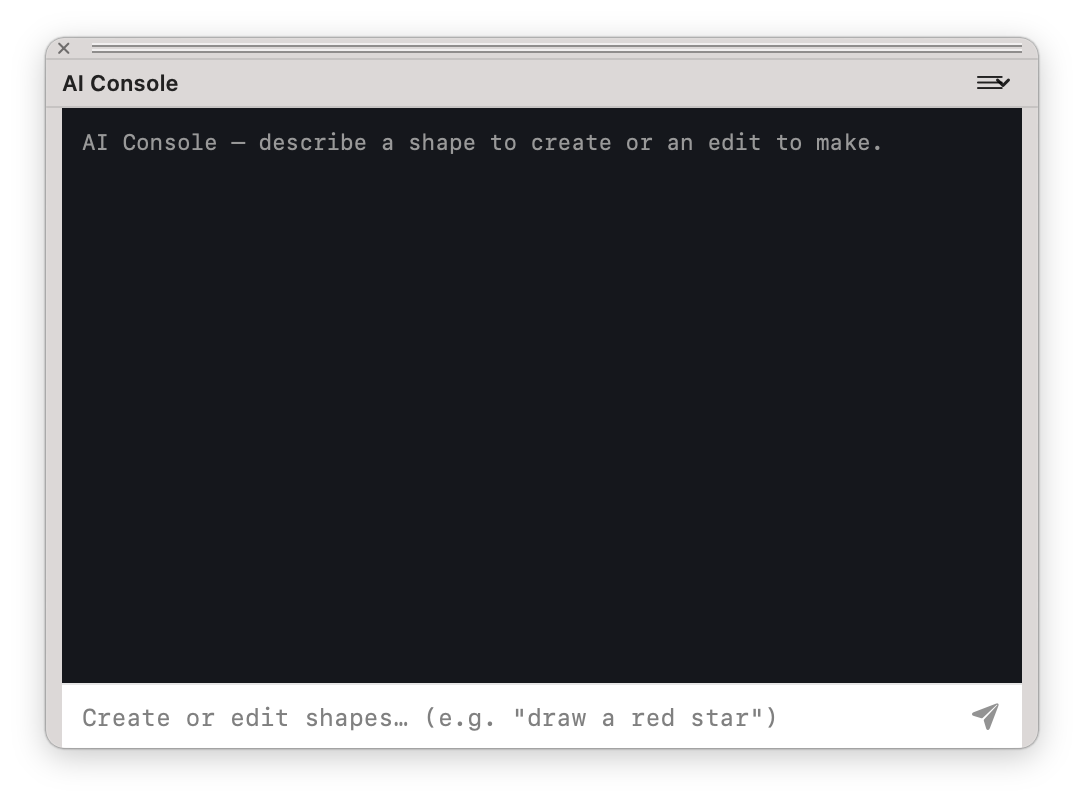
Request a different arrangement or fewer details, then compare the results. Every result is saved as a state you can restore, compare or insert into the document.
Keep talking in the same chat: the console remembers the conversation, sees your canvas and asks when a request is unclear. Choose Fast or Max effort next to Send.
Check lettering, shapes and colours yourself before saving the artwork.
The App Store version has a built-in service with limits. The direct download uses your own API key.
Connect a compatible external assistant when you want it to use supported drawing tools.
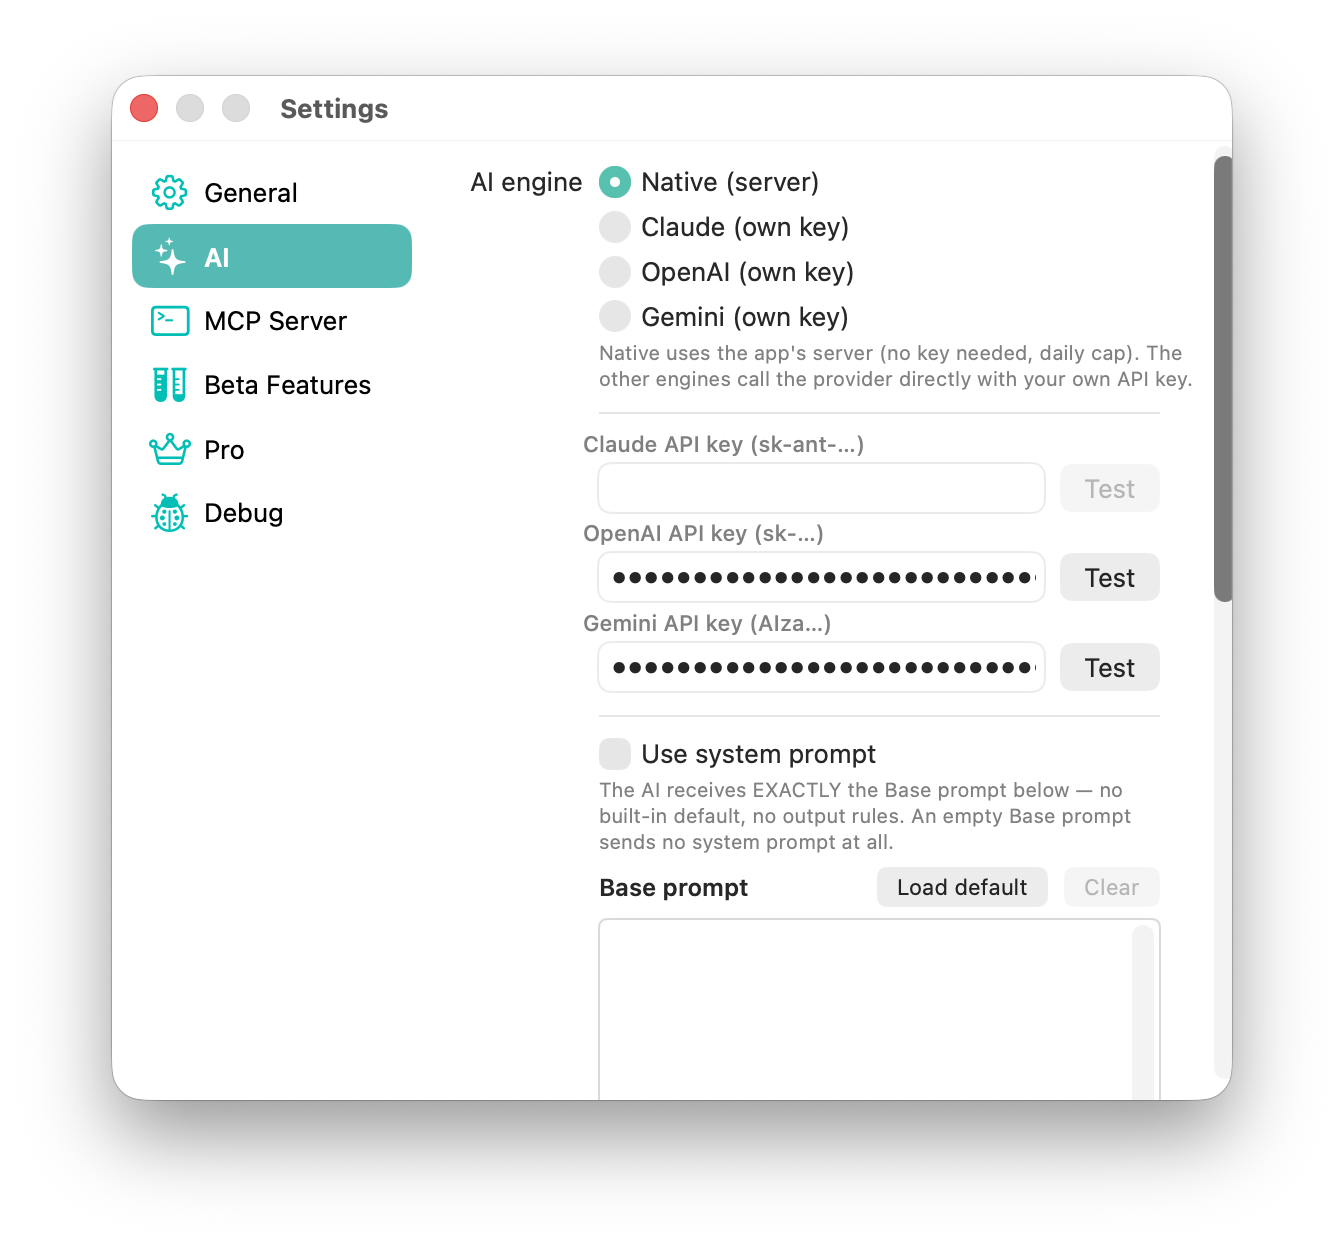
Reuse a script for a familiar drawing operation and inspect the changed artwork before saving.
Run an existing script for a repeated arrangement or editing task.
Adapt a working script example to the document and inspect the result.
Keep useful scripts in the panel for the next project.
Use supported Mac automation to connect a repeated step with your workflow.
Repeat supported operations on the selected artwork.
Connect an assistant to supported tools when you want to describe the operation.
Reuse an operation when producing related versions of a design.
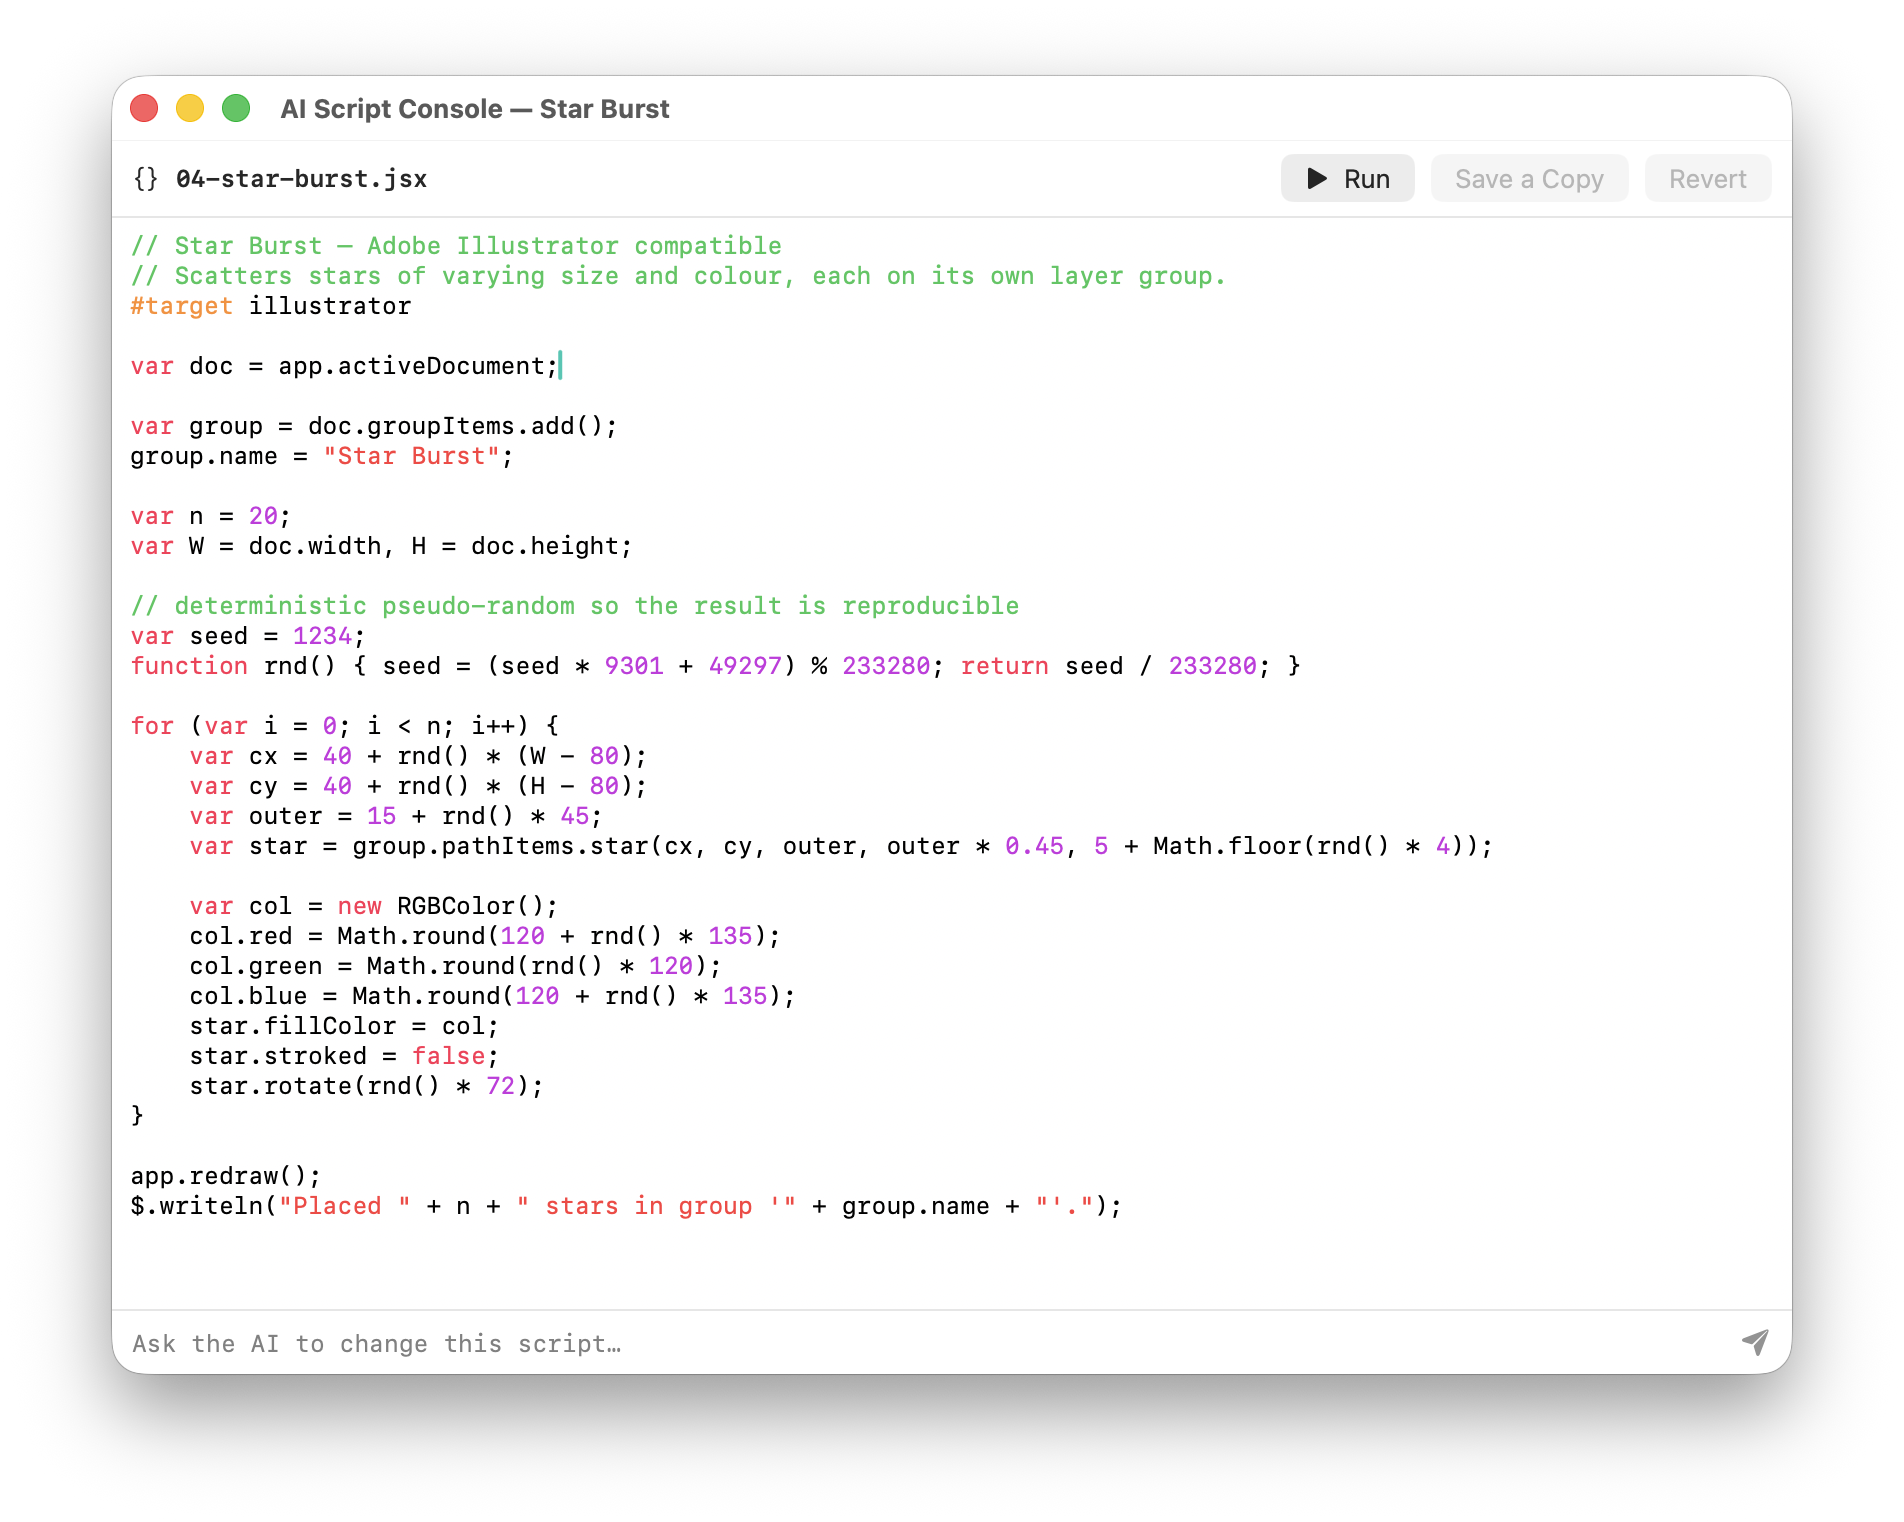
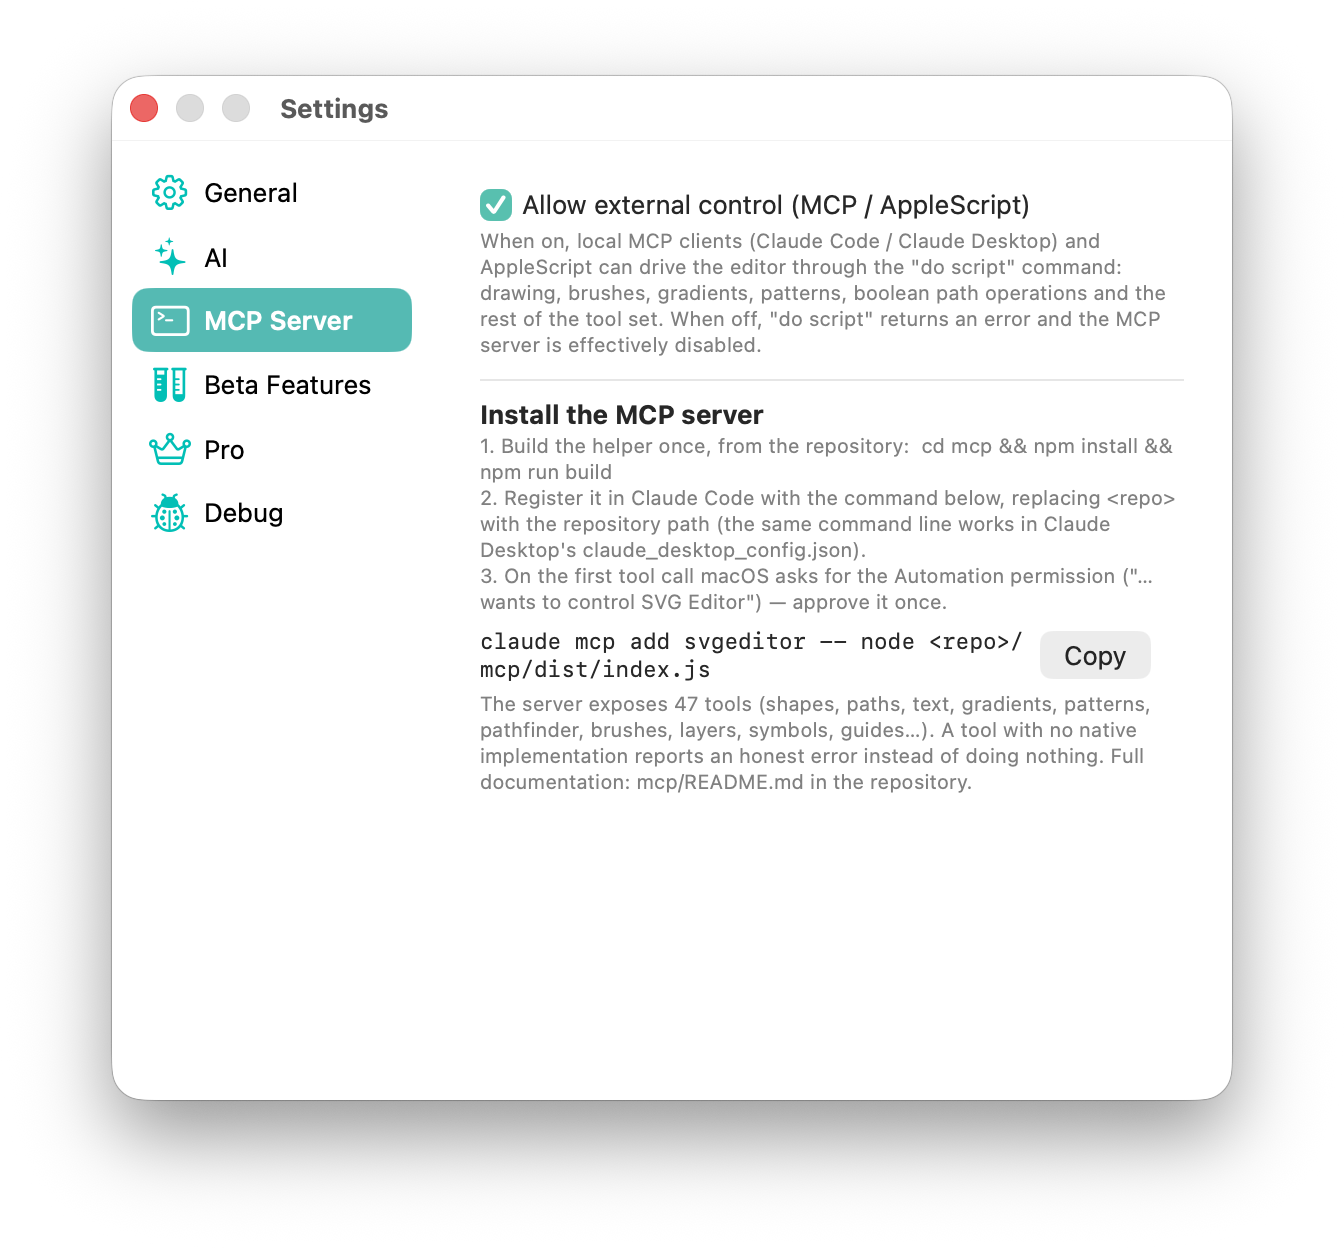
Follow the setup guide before connecting an external assistant.
Review the whole poster, then zoom in on the parts that need a closer check.
Inspect the underlying outlines of a complex shape.
Review the rendered appearance before export.
Zoom in on a curve and return to the full composition.
Hide panels while checking the finished artwork.
Check transparent edges in a logo or placed image.
Choose a preview quality that suits the artwork and inspection task.
Pan and zoom a busy document without waiting for it to redraw.
Use the appearance setting that is comfortable for your work.
Review the artwork at the intended size before sending a copy.

Start with the artwork you need for a business, event or personal project.
Create a business logo, club badge or matching website icons, then resize them for each use.
Illustrate an event poster, draw a greeting card or build a diagram for a presentation.
Curve a club name around a badge or arrange a headline and lettering for a poster or label.
Trace a bitmap logo or scanned sketch, clean up its shapes and recolour it for a new project.
Ask for a badge or icon idea, then refine the generated vector shapes into your own design.
Prepare a flyer, poster or label at the required size and export a PDF for your printer.